
The Samyang (Walimex/Rokinon) 8mm Fish-Eye II f2.8 lens is a manual focus ultrawide angle lens designed for mirrorless system cameras. It is available in Sony (E-mount), Canon M or Fujifilm X mount. It has a 7.5mm modified version for MFT (Olymous/Panasonic). I was happy to got it as a present and test against the Sony 16mm lens + VCL-EFC1 fisheye converter, which I have been using for couple of years. Samyang is a Korean company producing affordable good quality manual focus lenses for various platforms including Sony, and they just recently released some AF lenses.
The optical construction of the Samyang (Walimex/Rokinon) 8mm Fish-Eye II f2.8 lens is 11 elements in 8 optical groups including 2 aspherical and 3 ED elements. It was re-designed compared to the version I (10 elements in 8 optical groups, one aspherical and 2 ED elements) according to the company to reduce CA, flare and ghosting. It's sightly longer (64.5 mm) and heavier (265 g vs 215g) than the Sony lens combo. I've also included a sigma 15mm fisheye (372 g) lens for full-frame cameras in the picture below just for comparison. The Samyang lens' size and weight are just perfect for the Sony A6x00 camera body.


There are no electronical contacts, so there is no communication between the camera and the lens (don't forget to set-up your camera by enabling release without lens). The lens hood is not removable similarly to the Sony version, but the lens cap is a bit better constructed. I've already lost one Sony lens cap in the woods. The lens is very solid and dens and it gives an impression of good built quality.

The manual focusing is not that smooth but changing aperture on the lens by half stops via a ring is nice. There is a cine version with click-less aperture control (8mm T3.1 UMC Cine Fishgeye II). I've tested a Walimex-branded copy, which was a family present (no conflict of interest). It was around 240 euro before Christmas as a sale price, and in Germany it sells around 330-350 euro at the time of writing this article (1st January, 2018).
Testing the optical quality
I've also included two action cameras in the test, just to avoid (or prove) the comments that "my GoPro can take better photos". So in addition to the Samyang and the Sony lenses a GoPro (entry-level HERO without WiFi) and a Yi 4K camera was included.

I've used a Sony A6000 on tripod and a self-timer (2 s) for release to avoid any camera movement during exposure. For precise focusing (except the action cameras) manual focusing, focus magnifier (programmed on C1 button), and focus peaking was used. You can see a test scene below.

Sharpness and contrast
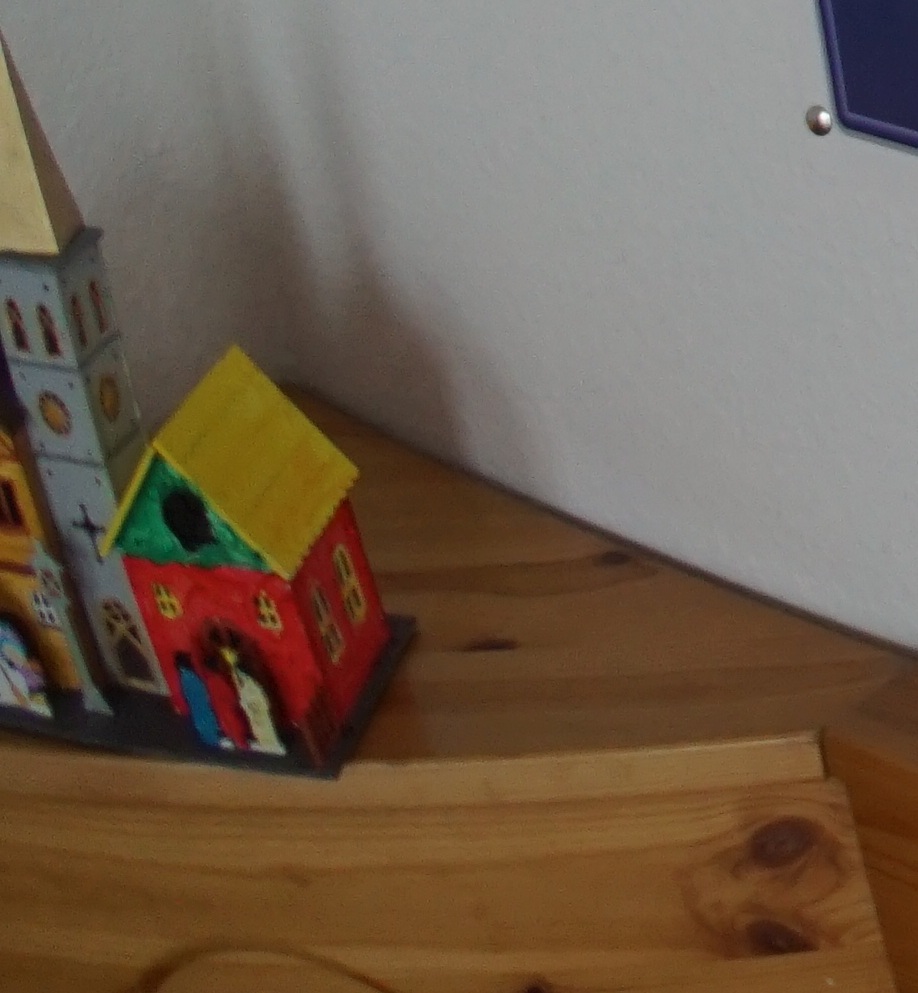
At medium distance the photos with the Samyang lens look sharper compared to the Sony. It's also clear from the test photos that the Samyang has a much wider field of view:

Samyang, F8, re-sized

Sony, F8, re-sized

GoPro, re-sized

Yi 4K, re-sized
When re-sized for web, the action camera photos look not that bad, but zooming in reveals the lack of details compared to the APS-C sensor camera photos. To show some more details not re-sized crops are compared below (click on the pictures to enlarge them):

Samyang

Sony

GoPro

Yi 4K
f2.8 left border
Samyang

Sony

GoPro

Yi 4K
f2.8 right corner
Samyang

Sony

GoPro

Yi 4K
At fully opened aperture, the Sony is not so good, while the Samyang lens performs quite well. However, I rarely take fisheye photos at f2.8, so in the next test I used a more practical f value, where the optical quality of the Sony lens combo is expected to be better. However, we lose the action cameras in the next test, because of their fixed aperture.

Samyang

Sony
f8, left border

Samyang
Sony
The Sony lens squeezed the mock-up building, while the Samyang preserved the aspect ratios much better. It's due to a better, and somehow unique design of the Samyang fisheye lens using a stereographic projection.

Samyang

Sony
The cropped parts are not always the same (sorry, my mistake), but I think, it can be seen that at f8 the sony improves but Samyang still has the edge. Another important conclusion is that the photos from the action cameras are far behind the results from an APS-C photocamera under optimal conditions. I've also tested at f22, and as expected a slight deterioration of resolution was observed by both lenses. But the results are still usable:
f22, center:

Samyang

Sony
f22, border

Samyang

Sony
Buildings, landscape
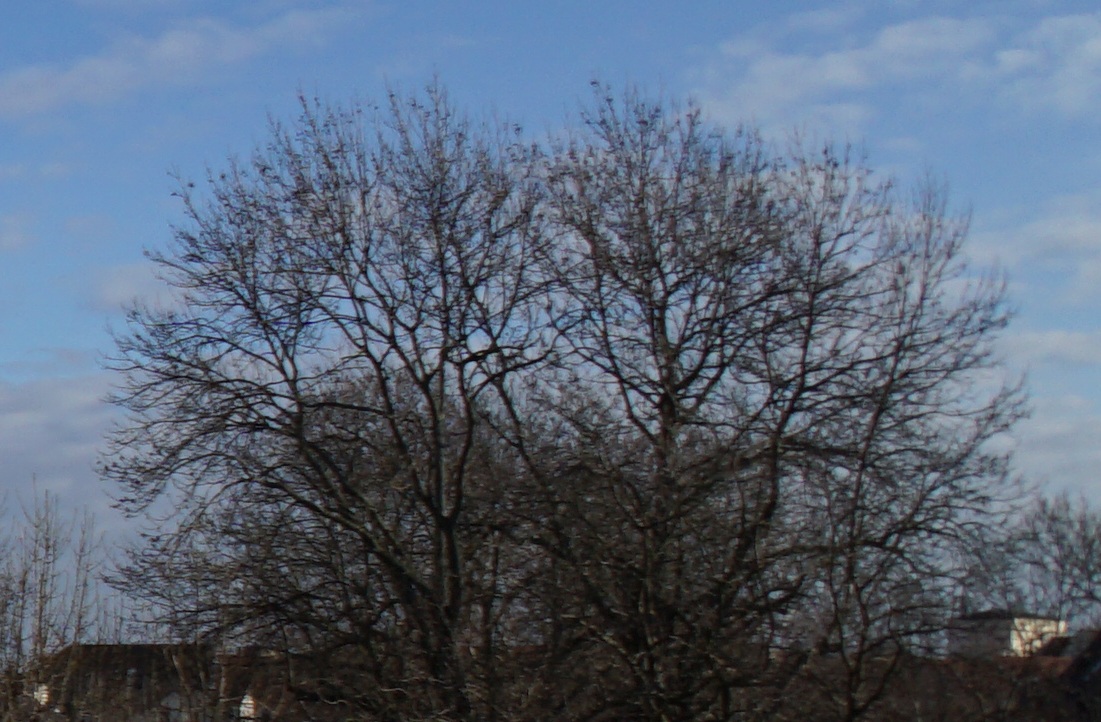
I had not much time to test the Samyang lens for landscape photography, but photos of the opposite building from our balcony can give some hints for distant subjects.

Samyang, f2.8, resized

Sony, f2.8, resized

GoPro, resized

Yi 4K, resized
Not much surprise here, Samyang is wider and sharper overall and the difference is more pronounced in the corners. Especially, when we zoom in a bit (click on the picture, to enlarge):

Samyang, Sony, GoPro, Yi4K (center crop)
 Samyang, Sony, GoPro, Yi4K (border crop)

The Samyang is far ahead of the competition, with better colors and much sharper images. The difference is not that dramatic, when we stop down the Sony lens but the Samyang is still better:
f8, center crop:

Samyang

Sony

Samyang
Sony

GoPro (fixed aperture)

Yi 4K (fixed aperture)
Sun star, star burst (sun flare):
Some consider it as a gimmick, but I like the sun star effect and I like to include the sun in my photos as compositional element, which is difficult to avoid with ultra wide angle lenses. The star burst effect is due to light diffraction and it's enhanced at smaller aperture (higher f stops, f11-f22).
Some minus correction of the exposition is required. It's really nice when combined with a flash illuminated foreground subject.
Some minus correction of the exposition is required. It's really nice when combined with a flash illuminated foreground subject.

Samyang, f8 (-1)

Samyang, f8 (-2)

Sony, f8 (-1)

Sony, f8 (-2)

Samyang, f22 (-1)

Samyang, f22 (-1)


Sony, f22 (-2)
At the beginning it was a bit strange but now I tend to prefer the six-ray Samyang version better. The design of the aperture diaphragm and the number of aperture blades has a profound effect on the quality of the sun stars. The Samyang lens has 6 blades and as a result, six rays of the sun star, while the Sony lens with the 7 blades produces 14 rays.
Close focus ability
This is the only department, where sony is far better than Samyang and perhaps this is my only grippe with the otherwise excellent lens. The minimum focus distance (from sensor plane) is 30 cm according to Samyang, which is not that good compared to the 12-13 cm measured with the Sony fisheye lens combo:

Samyang (f2.8)
 Sony (f2.8)
 Samyang at minimum focus distance
 Sony at minimum focus distance
 Samyang (focus at infinity)
 Sony (focus at infinity)

This is actually a huge difference for nature photography. You can forget close focus wide angle pictures with the Samyang lens and it might cause difficulties for underwater photography with dome ports. However, I've read reports about successful usage of the Samyang fisheye lens. The pictures below show the difference in case of a real life scenario. The decorated Christmas tree was an obvious choice:


Freelensing
The only way to take good quality close focus wide angle photos is to use an extreme slim extension tube or mimick it by freelensing. You can read about this technique in my previous blog posts here:
In my opinion it's easier to use the Samyang lens than the sony due to the easier manual control of the aperture and focus. Some examples below:


Verdict
The Samyang (Walimex/Rokinon) 8mm Fish-Eye II f2.8 lens is a fantastic ultra wide angle lens for any system for an affordable price. It has an excellent optical quality with very good sharpness and contrast. The lack of autofocus is rarely a problem for fisheye photography and due to the huge depth of field, a zone focusing is mainly appropriate. My only problem is the poor close focusing, a technique I use a lot, but it's not mandatory for most of the users. I will surely keep this lens and it's a highly recommended lens for ultra wide angle photography. Besides the Sony VCL-ECF fisheye converter on the SEL16F28, the only alternative is to adapt a canon aps-c fisheye lens, such as the Sigma 10mm f/2.8 EX DC HSM Diagonal Fisheye lens or the Tokina AT-X DX 10-17 mm f3.5-4.5 Fisheye zoom lens. However, I would only recommend this route if you already own these lenses or the autofocus is absolutely necessary (Underwater photography).